Get to Know the Secrets of Micro French Manicure and How It Can Flatter Any Nail Shape
A French manicure is a timeless classic. It exudes elegance and sophistication, making it popular for weddings, special occasions, or even everyday wear. But if you’ve been trying to enhance your classic look without tackling a full-on nail art DIY project, the micro French manicure may be the answer you’re looking for. Micro French Manicures allow you to take your polished look up a notch with minimal effort – adding dimension and texture in all the right places! In this blog post, we’ll explore what exactly makes up this subtle yet delightful addition to any nail look and provide some pointers on how you can apply the design with ease!
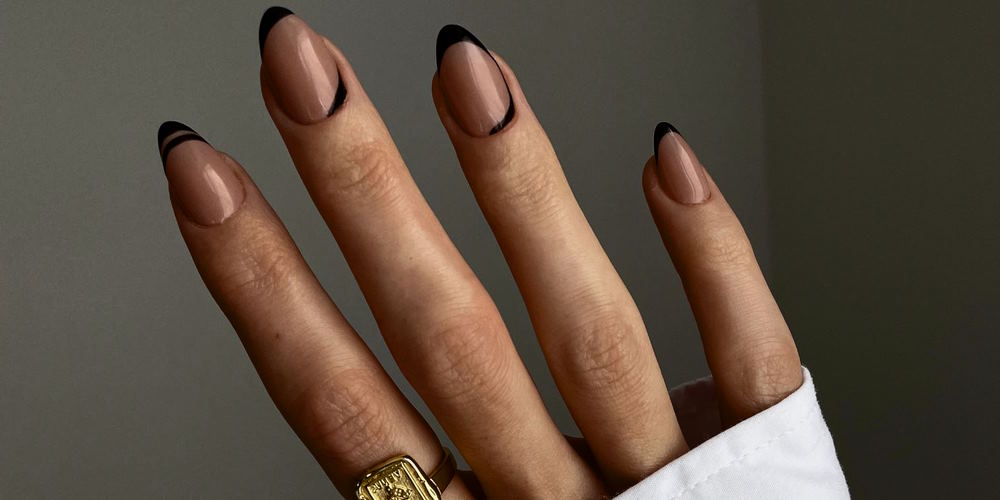
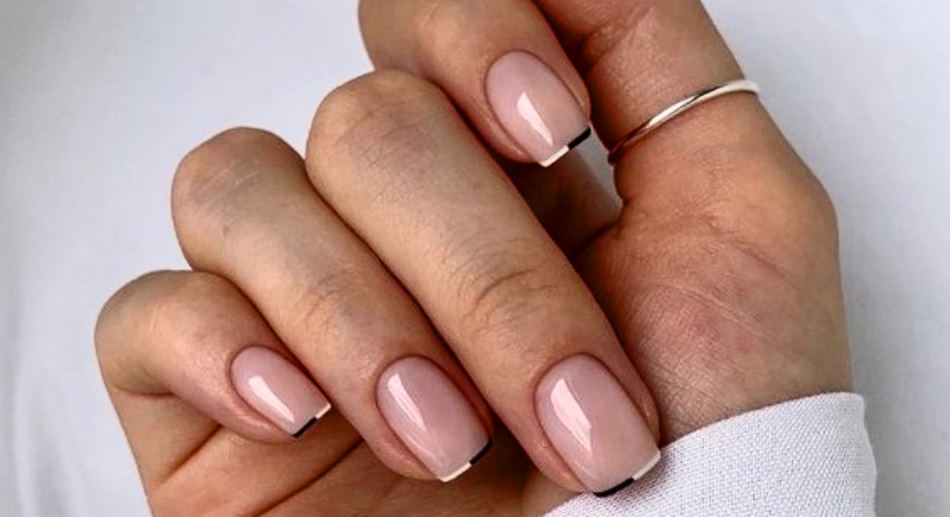
Creative types of micro french manicures you’ll want to try immediately
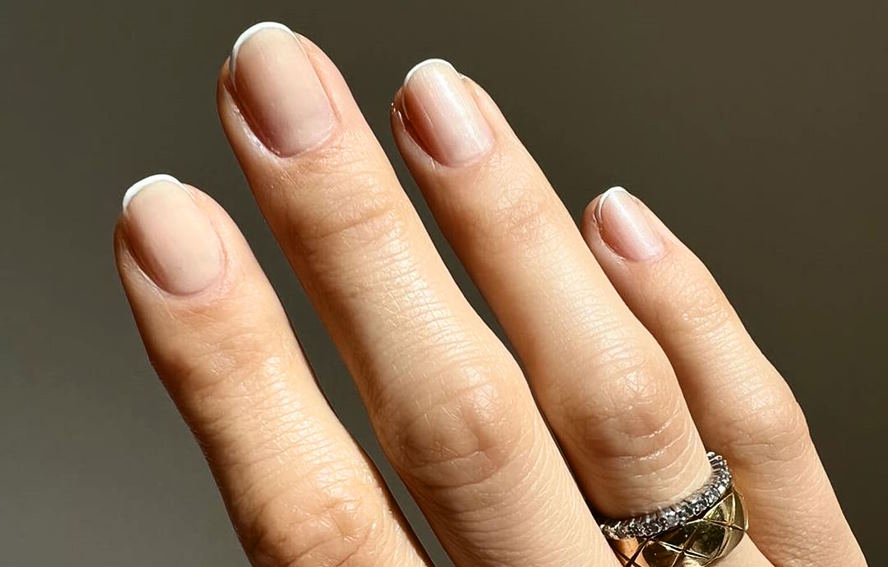
There are several types of micro french manicures available. The classic French manicure is known for its clean, almond-shaped tips and opaque white base on the nails. This look can be achieved with simple nail polish colors such as pale pink, off-white, and white. For a more modern twist, opt for two shades of pink to create contrast between the tip and the base color. Other popular options include ombre micro french manicures, which create a gradient effect using two or more colors, or glitter micro french manicures that feature sparkly accents at the tips. Each type of micro french manicure will give you chic and elegant results that will last up to two weeks!
For a more daring look, try adding colored gems or nail art designs to your micro french manicure. With so many options available, the possibilities are endless! From classic pastel shades to bold neons and metallics, you can create any look that suits your style. Finish off with a glossy top coat for an extra touch of shine, and you’ll have the perfect micro french manicure in no time! Whatever design you choose, a micro french manicure will always ensure your nails look well-groomed and stylish.
How to create the perfect micro french manicure at home
Creating a micro french manicure at home doesn’t have to be hard or intimidating. With a few supplies and patience, you can create the perfect look quickly.
First, you’ll need to gather your supplies. You will need a base coat, white nail polish, top coat, and a thin brush or striping tool for the fine details of the design.
Once you have your supplies ready to go, start by applying two coats of base coat to your nails and allowing it to dry completely between each layer. When you’re finished with that, apply two layers of white nail polish and allow them both to dry completely as well.
Now we can get started on creating the actual French manicure. Start by taking the striping tool or thin brush and carefully creating a curved line at the center of your nail with white polish. Then, draw two more lines on each side of that first one in order to create a triangle shape. This will be the base for your French tip.
Once your tips are drawn, take the same brush or tool and begin filling in the area between each line, extending it outward towards the end of the nail bed. You can also use this time to make any corrections necessary to get an even finish throughout all your nails. Allow it to dry completely before moving on.
Finally, finish off your mani with a top coat for extra shine and protection so that it will last longer. Now you have the perfect micro French manicure! Enjoy your pampered nails and show them off!
Thank you for reading this tutorial on creating the perfect micro French manicure at home. We hope that it was helpful in giving you a better understanding of how to achieve this look. Have fun creating your next beautiful mani!